
Applications
An Application is an independent unit for managing a single notification source or purpose, such as an AI agent, third-party software, server monitoring, or a scheduled script. Each application has its own Push Key and receiving targets. Applications suit ongoing use and are the recommended integration method.
Create a separate application for each sender: for example, Home Server for home server alerts, Build Agent for build results, and Daily Summary for a daily digest. You can then manage each one without having every program share a device key.
The screenshots of app actions below are from iOS. You can also create and manage applications in MeowPush Account Management.
Choose Receiving Targets
An application can target one or more devices, or device groups, for example:
- To receive notifications only on your phone, select a single phone.
- To receive notifications across all your work devices, select a custom
Workgroup. - To reach every current and future device under your account, select the All Devices group (not recommended).
You can change targets in the application's details at any time without the sender having to update its Application Push Key.
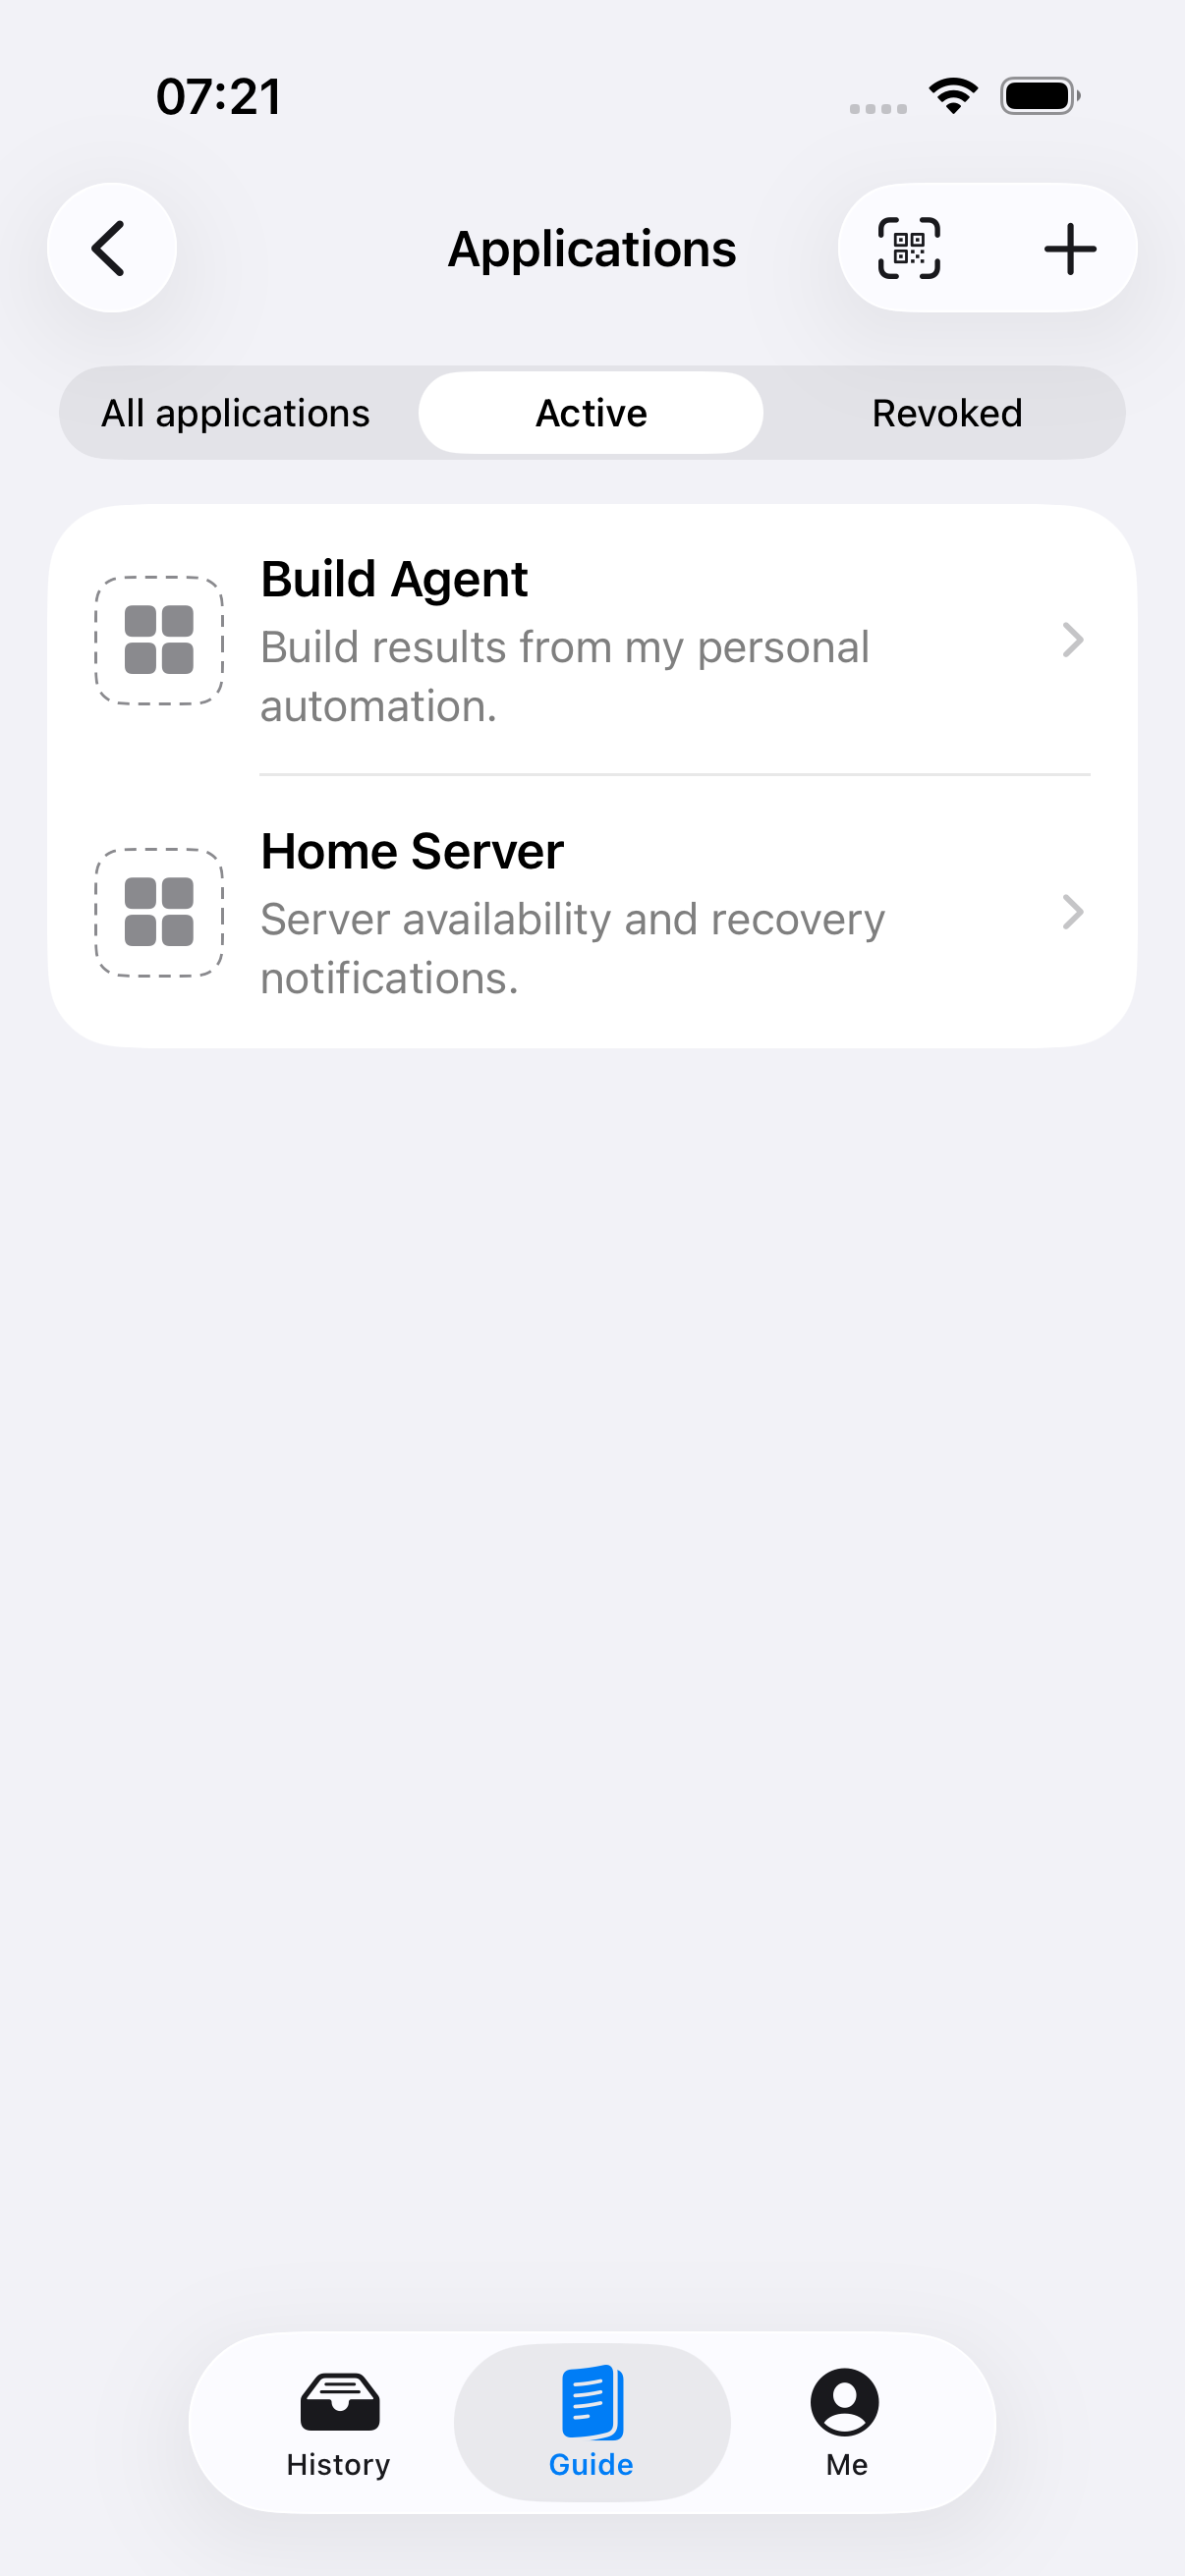
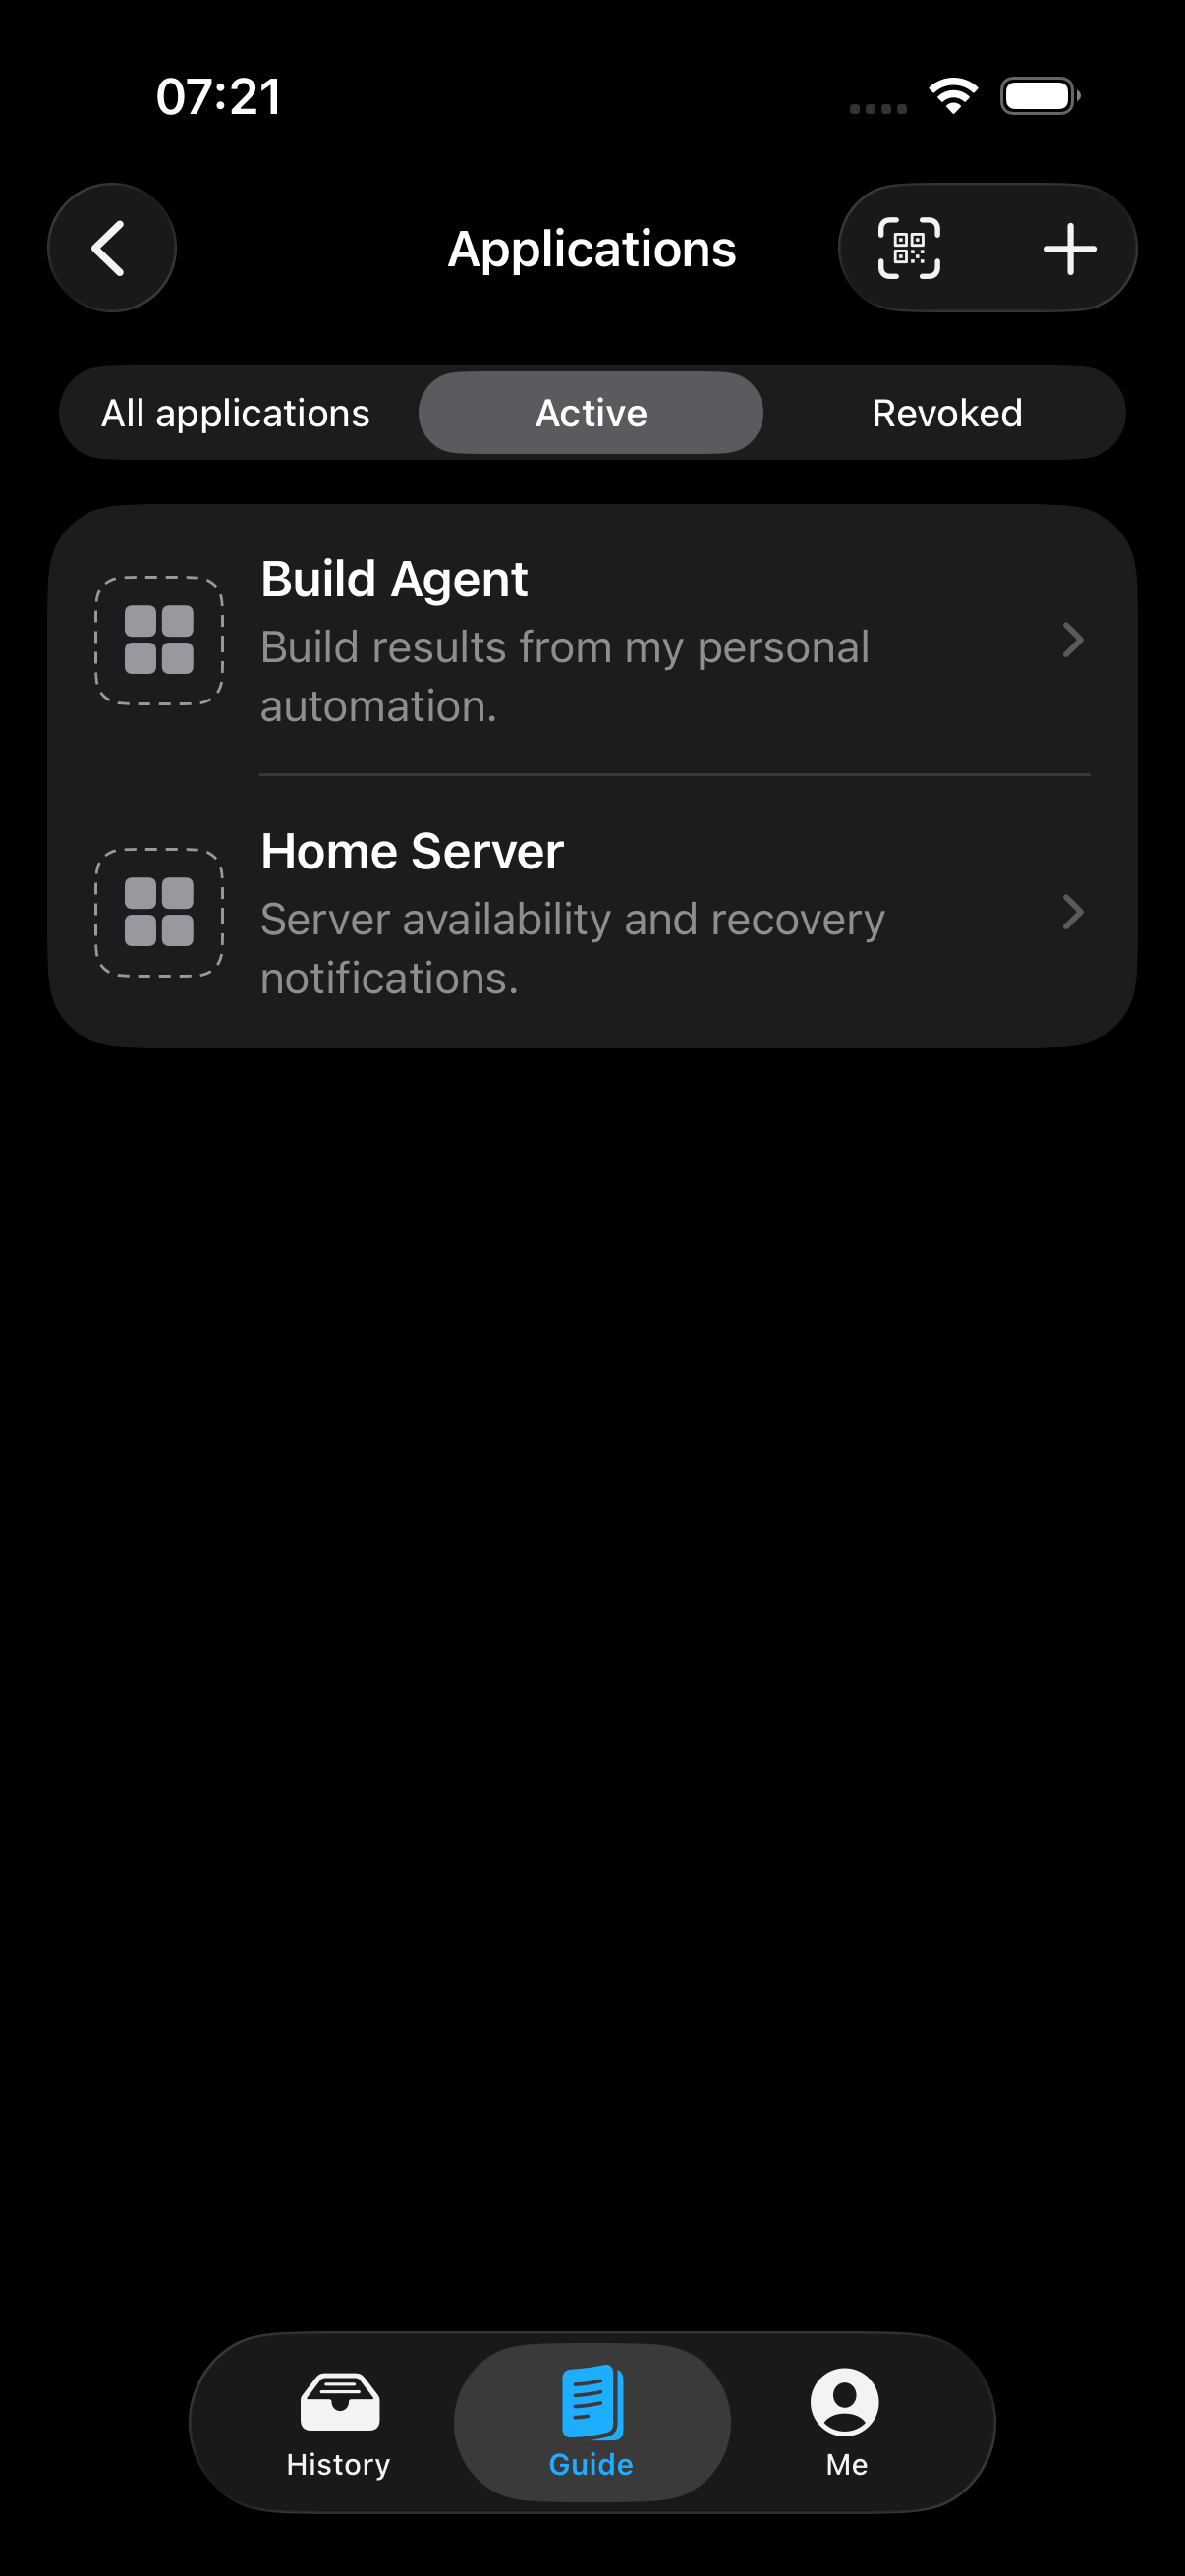
Let an Agent or Third-Party Software Request Authorization
AI agents and software services that support MeowPush application authorization can create a request and display an authorization link or QR code. After you confirm it in the MeowPush app or on the authorization web page, the requester can obtain the Push Key it needs.
- Start connecting MeowPush in the agent or third-party software to obtain an authorization link such as
https://accounts.meowpush.com/new-app?rid=…, or a QR code containing that link. - In the MeowPush app, open Me → Authorize an Application to scan the QR code or paste the link. You can also open the link directly to sign in on the web page or open the app.
- Check the application name and description, and select the receiving devices or device groups.
- Tap Create and authorize, then return to the original agent conversation or software to confirm the setup result.
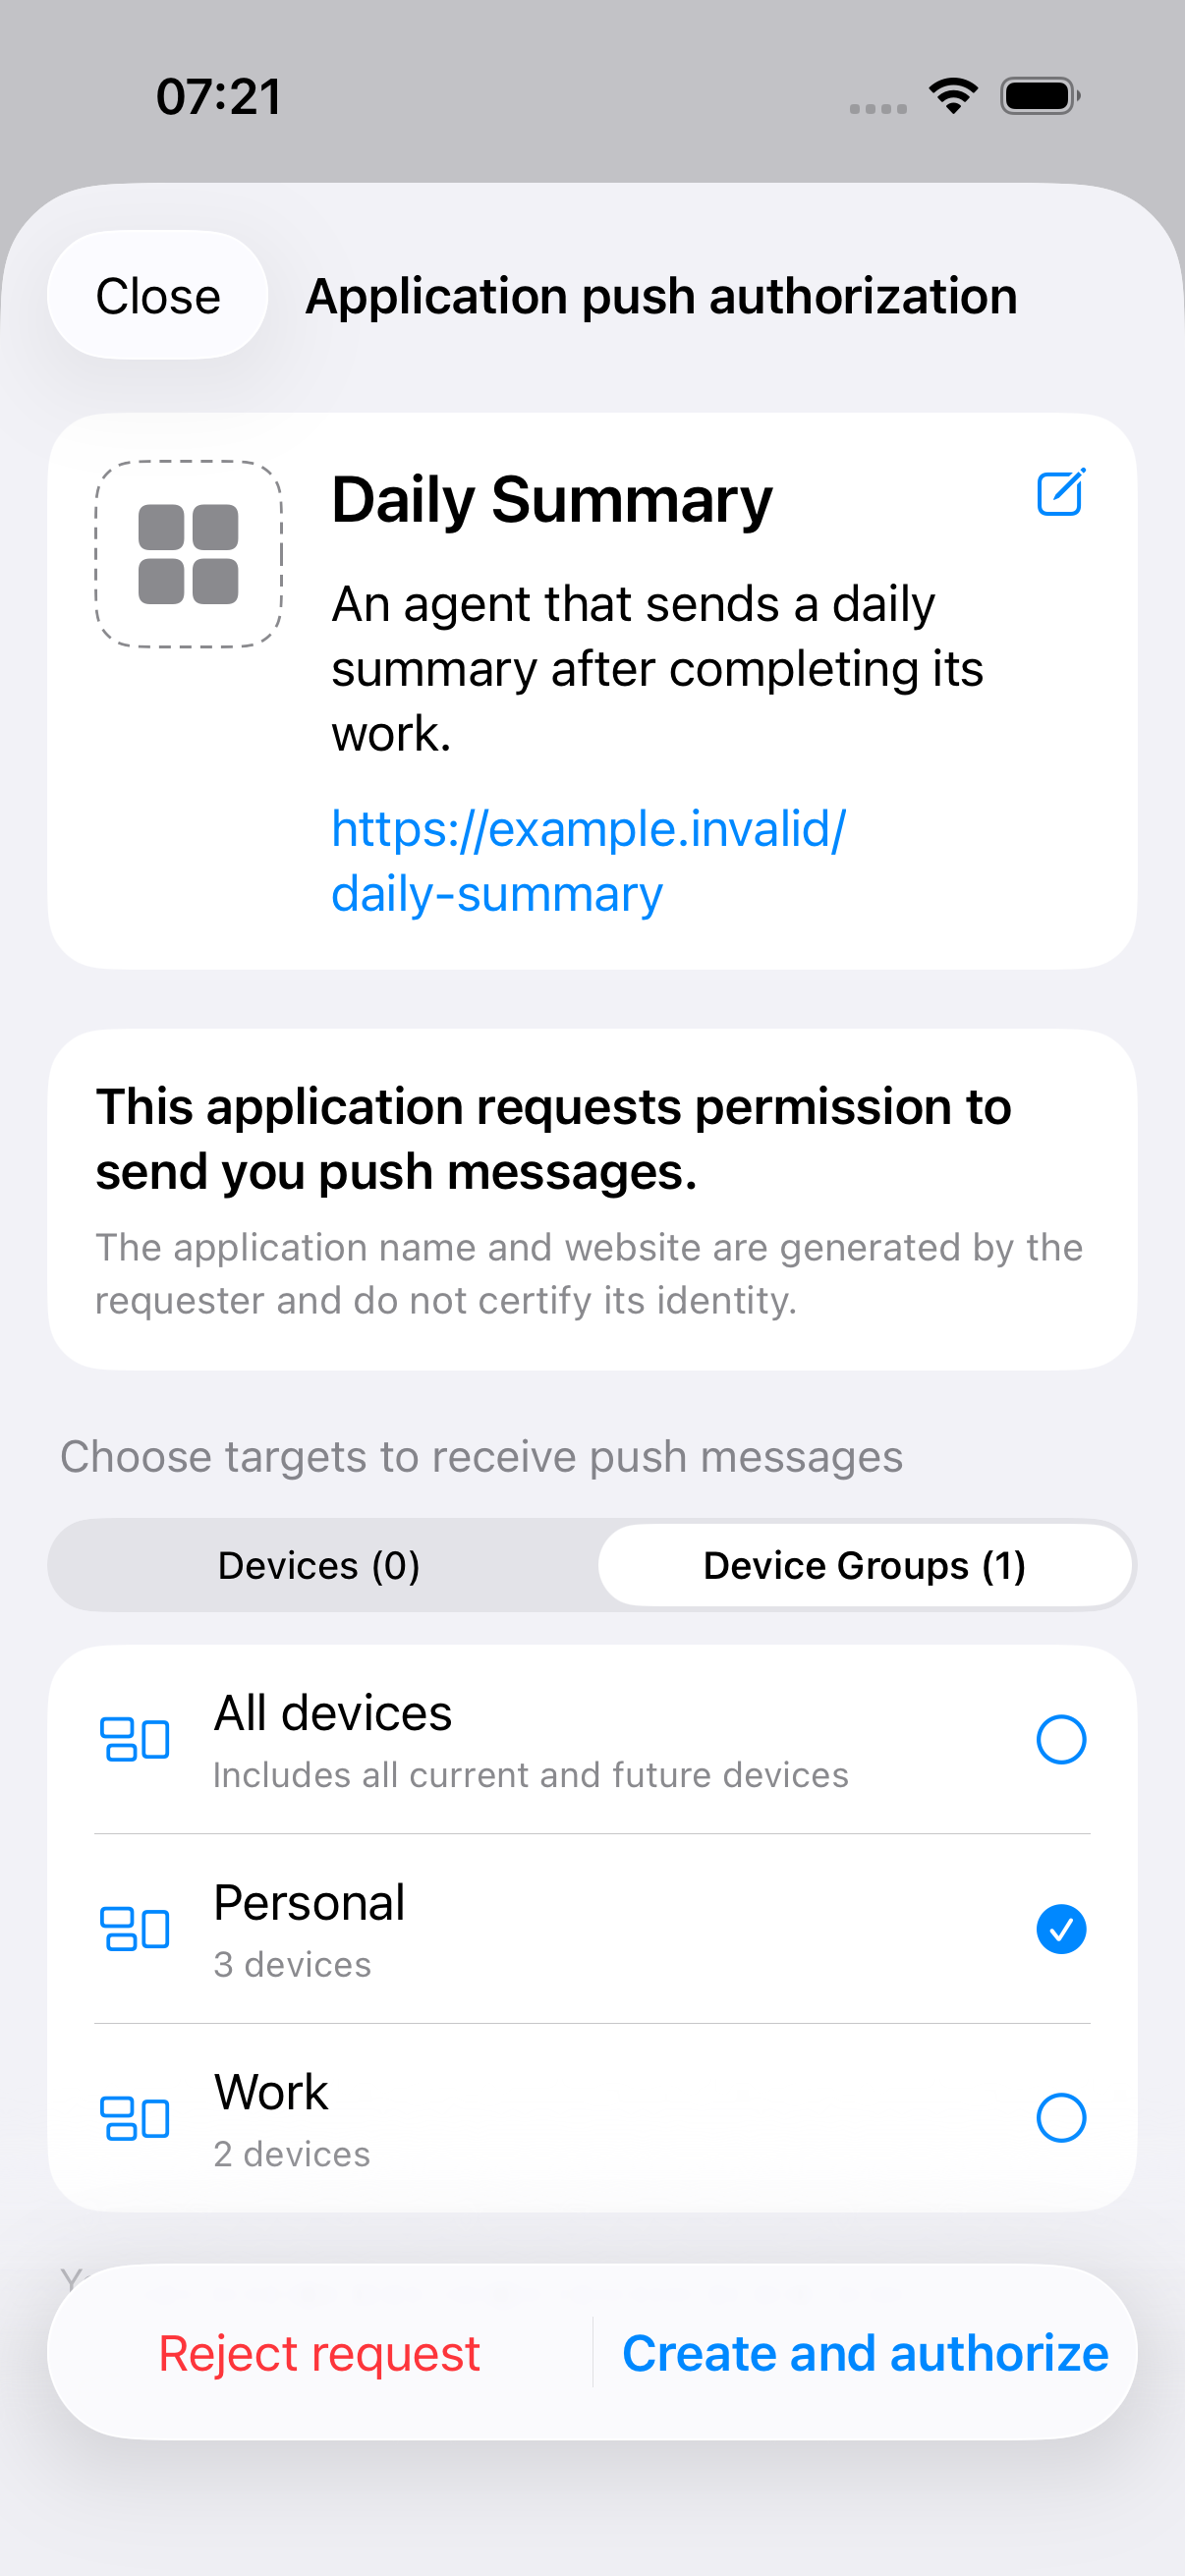
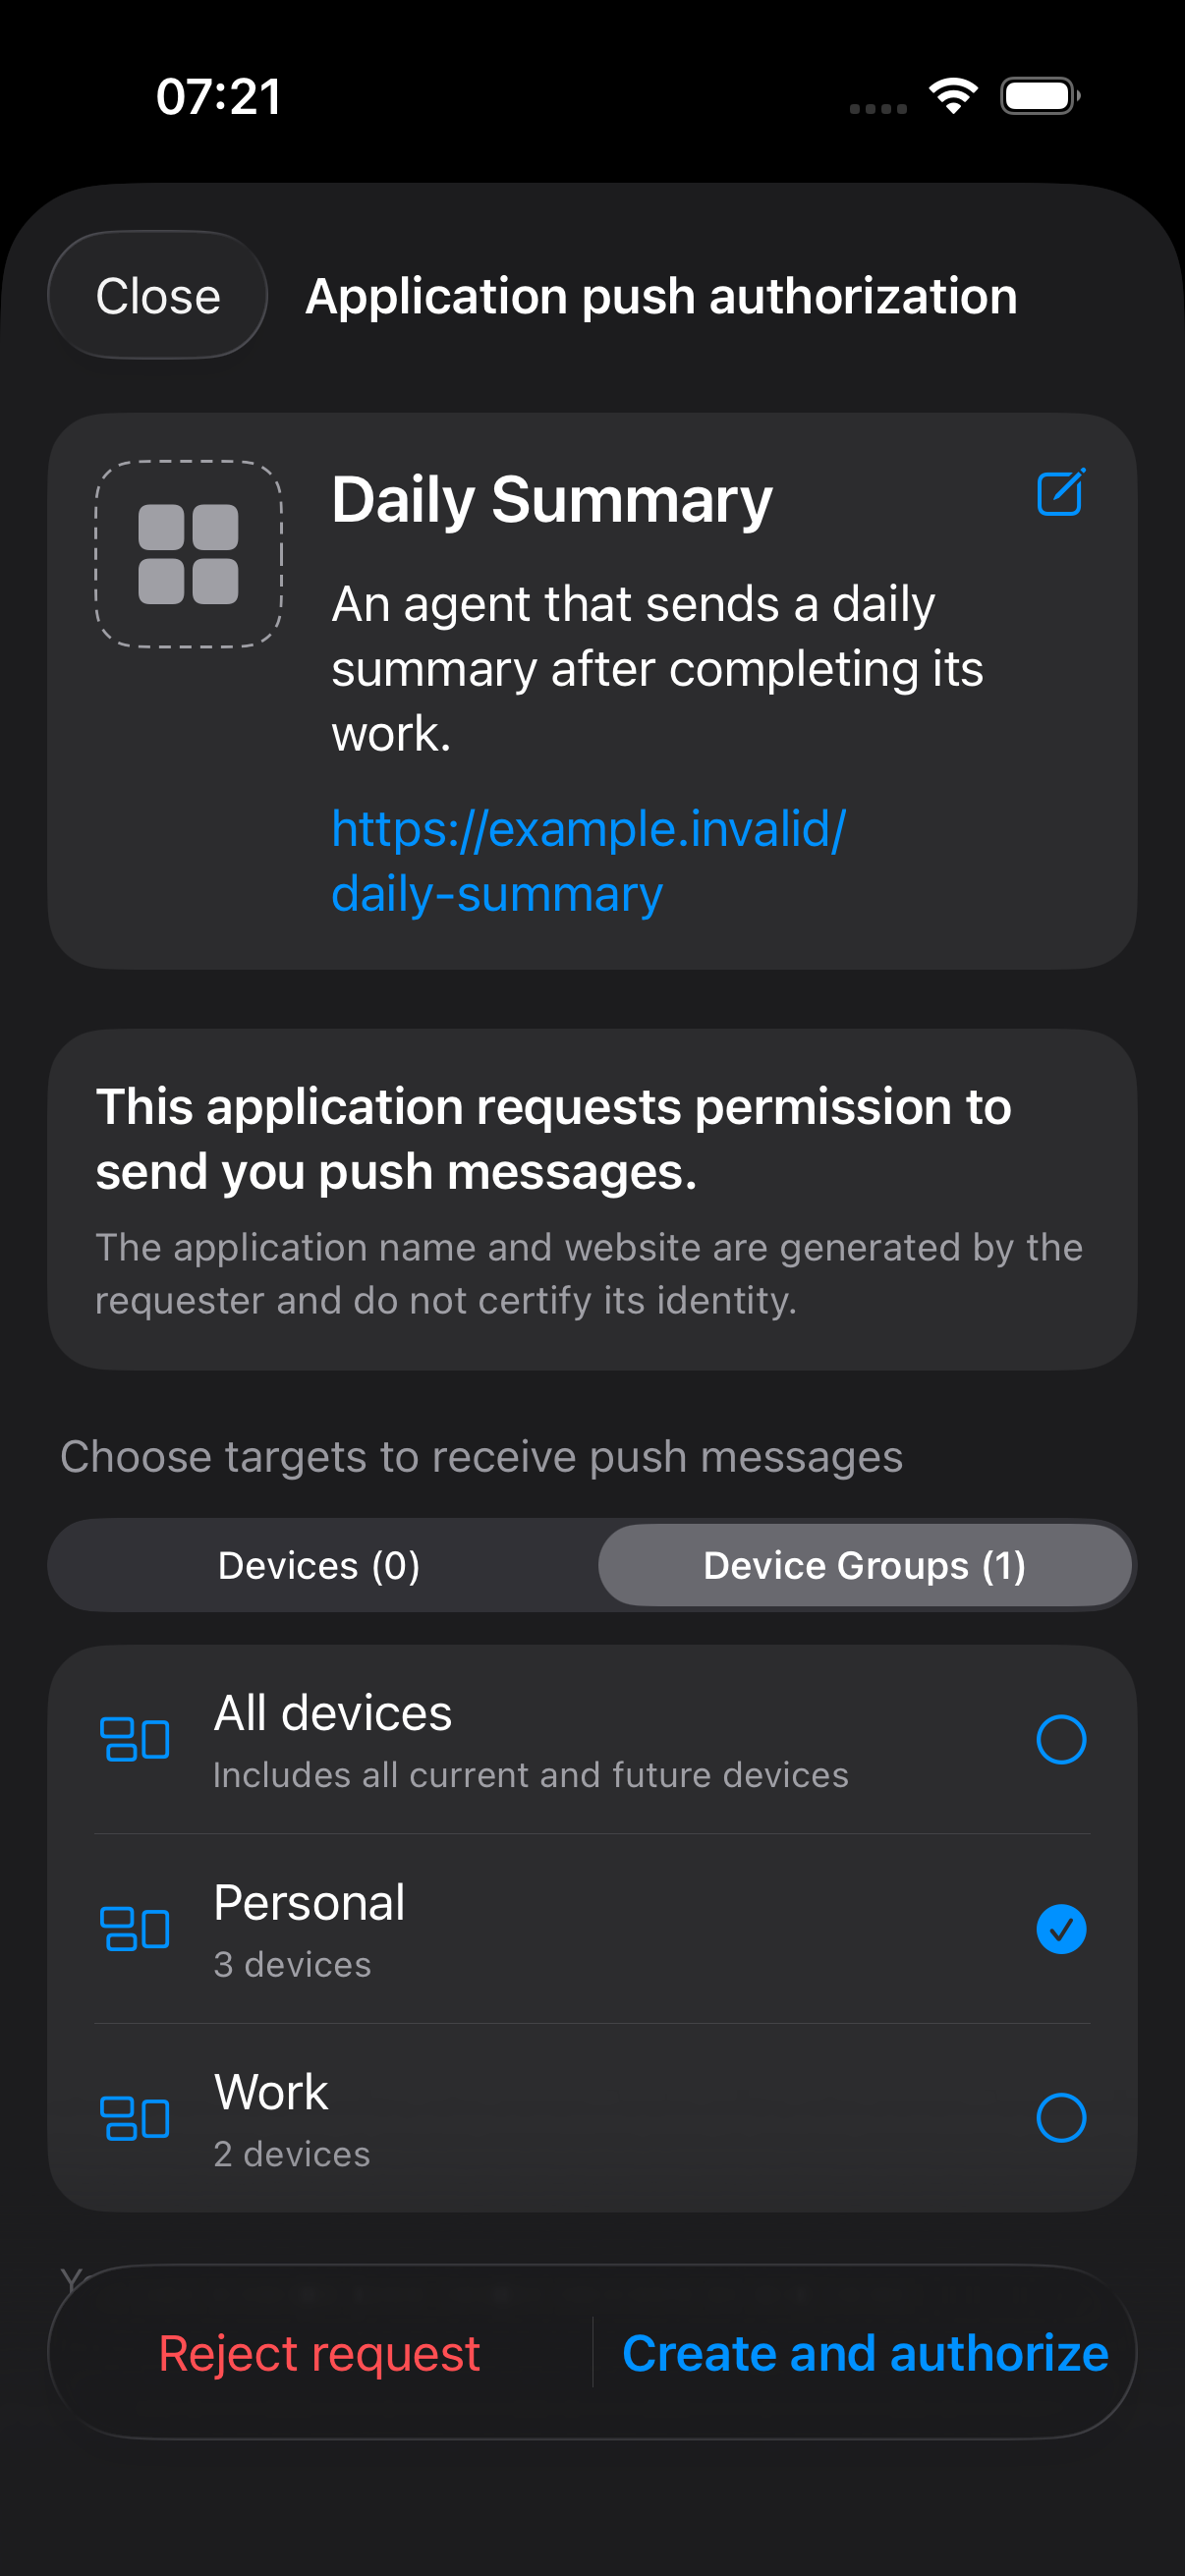
The requester supplies the application name, description, website link, and icon. Before approving, confirm that the request came from the AI agent or a known service you are using.
Create an Application and Copy Its Key
If your script or software only accepts a Push Key (whether a Device Key, Group Key, or Application Push Key), or you want to manage the integration yourself, you can also create an application manually in the app. The steps below use the iPhone app:
- Open Me → Applications and tap + in the upper-right corner.
- Enter an application name, with an optional description and website. For example, name a build monitoring notification source
Build Monitor. - Select at least one receiving device or device group, then tap Create application.
- After creation, copy the Application push key into the sending program's configuration. You can copy the key again from the application's details later.
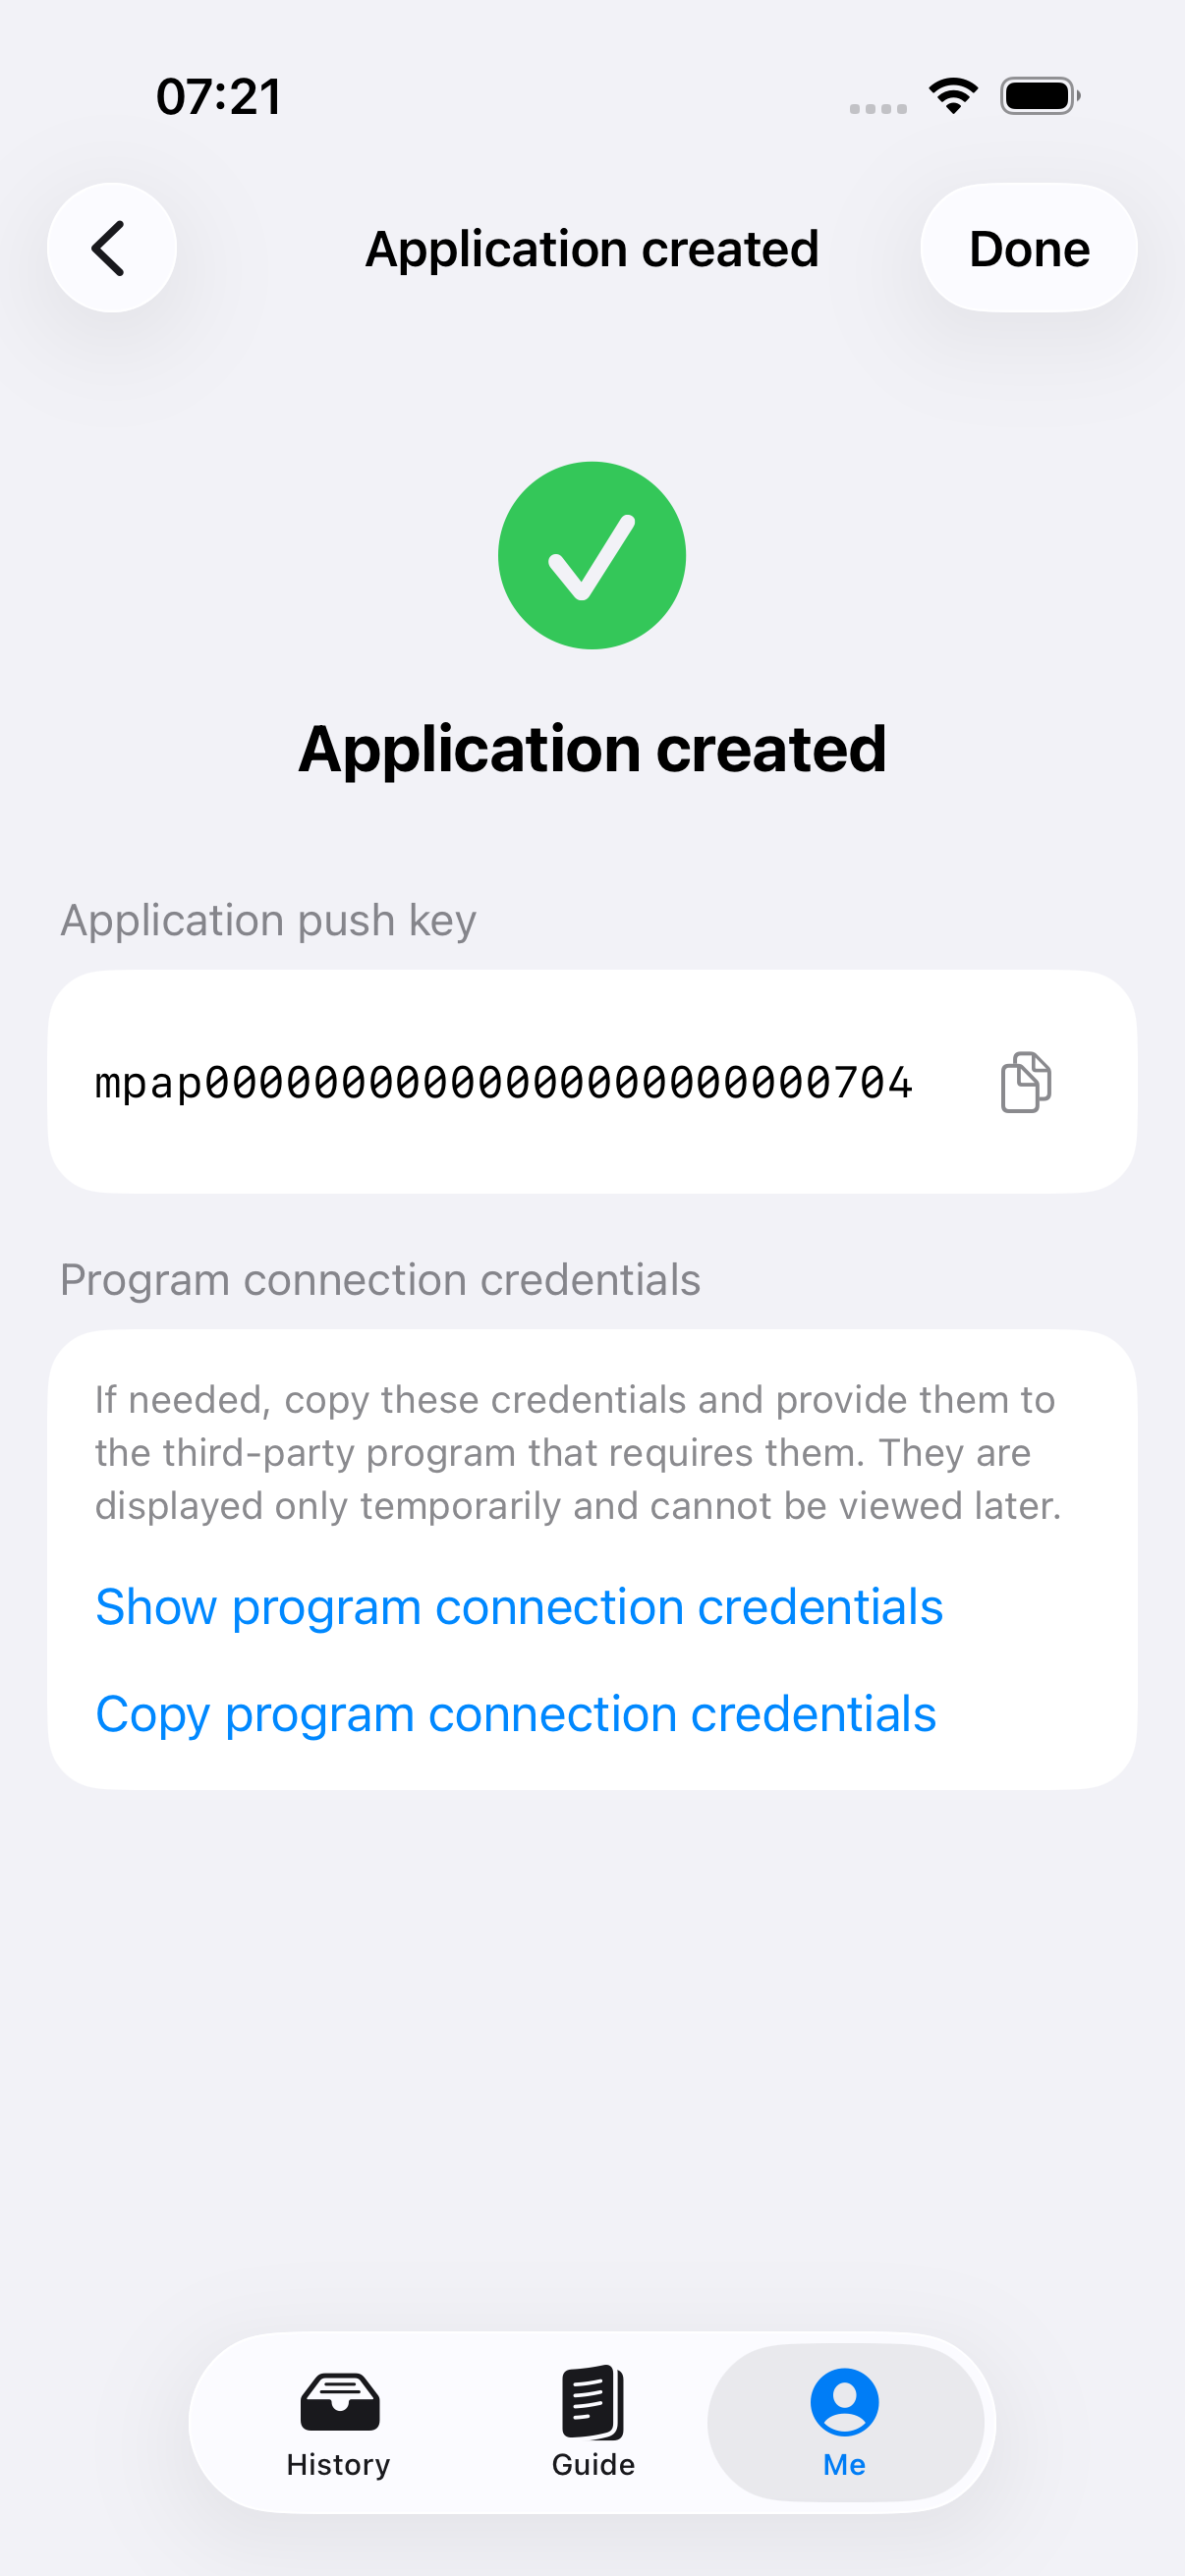
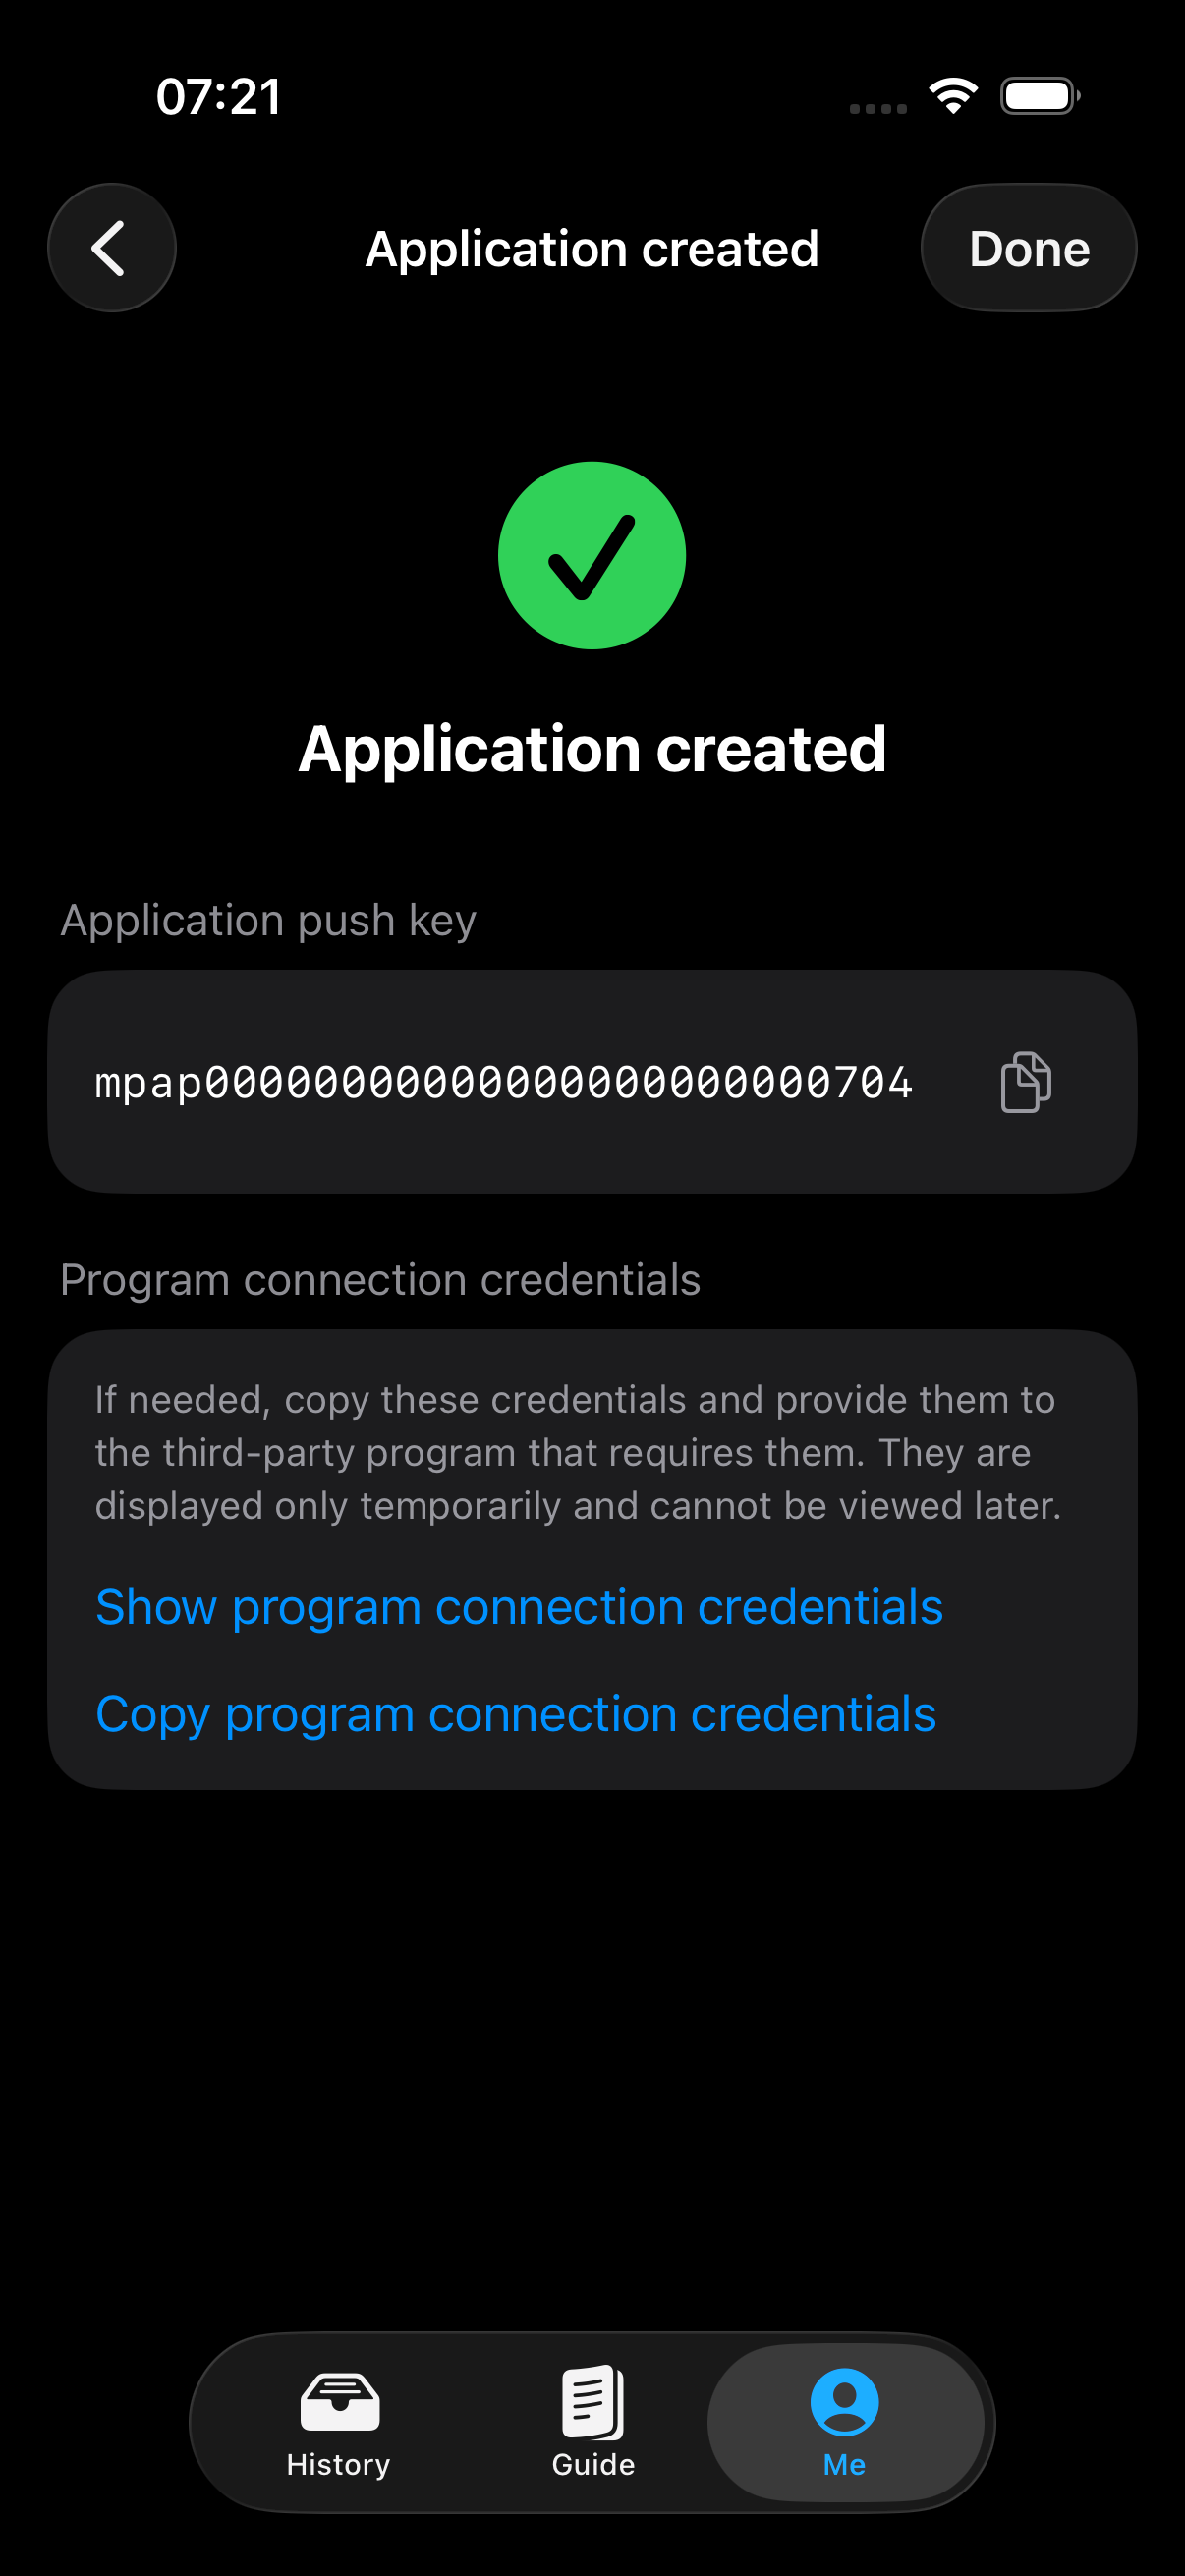
An Application Push Key starts with mpap and is used in the same way as a device key. See the API guide for the complete request fields and response format.
Manage or Stop an Integration
Open the application in Applications in the app or in MeowPush Account Management to manage it:
- Change receiving targets: Choose any devices or device groups to receive notifications.
- Reset its Push Key: If the key leaks, reset it and update the configuration.
- Revoke the application: Permanently end its authorization. Create a new application if you need to connect again.
Add Authorization to Your Own Software
If you are developing an AI agent tool, open-source project, third-party application, or integration service and want users to connect MeowPush quickly as an optional notification channel, a friendly, simple setup flow is an exciting option. You do not even need to prepare a tutorial for it. Here is a recommended approach:
- Define a fixed or dynamically generated application information template to describe the notification use case.
- Call the MeowPush application authorization API with the application name, description, and other details.
- Show the returned authorization link to the user, or open it directly in the system browser (which can automatically open the app).
- Query the result after the user returns to confirm, or poll in the background, then retrieve and store the Push Key and other credentials.
- Whenever you need to send a notification, retrieve that Push Key and call the API!
For more details, see API — Request Application Authorization.